Do you remember how fun it was to jump on your trampoline when you were a kid? Trampoline is a fun and active equipment commonly used by children as a form of play. Since children have a lot of energy, these are used to manage their vigor and keep them on-the-go. But trampolines are more than that!
Even adults can enjoy and benefit from it. This is effective in shaping a healthy and fit body. It has been widely used as a workout tool to improve your body’s functioning. It can even help you lose some weight! You can get the proper exercise you need for the day by bouncing and stretching on the trampoline.
Trampolines can be bought at your local hardware and stores. But if you are looking for a budget-friendly and sturdy one, you can do it yourself following these steps:
1. DIY Kit and Mat
Finding a complete and easy DIY kit may take some time. Running around stores in your area may be difficult. But if you have an old trampoline that you may want to recycle, you may want to use that. Just make sure that the mat itself is still safe to use. Check for cuts and other issues. Read the contents of a DIY trampoline manual and follow the safety tips. If you do not have one, you may check online for a step by step guide.
2. Legs
If you still have functional steel legs from your previous trampoline, you may still use that. Try to inspect them first for rusts and problems. Get a new trampoline leg, or you can order one with the same size in local steel shops. Installing and connecting the legs together is the next step. Look for the holes in each of the legs. Try to fit the leg on the trampoline frame. If it is correctly positioned, you may start using the bolt and nut to lock the leg and the frame. Make sure to tighten it well to avoid it cracks and gaps.

3. Springs
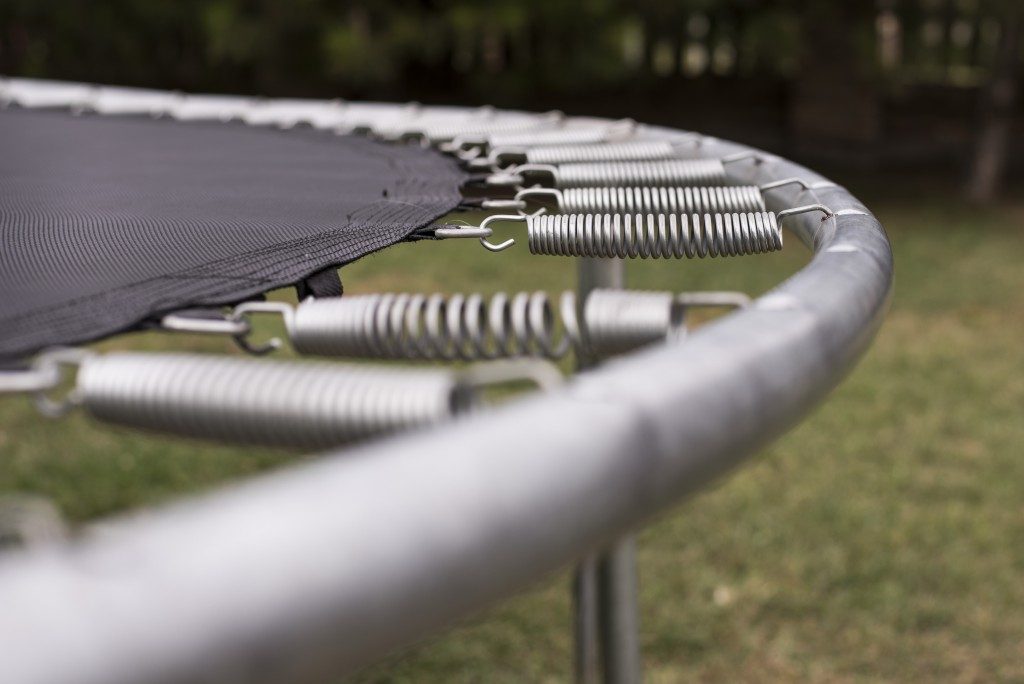
Connect your mat and the frame carefully using extension springs. In Ohio, there are springs widely acclaimed for its security and flexibility. It can be used best in equipment that requires rebound movements. To attach the spring on the mat, locate for the holes where the hook can be inserted. All the spring hooks must be locked prudently. After, connect the other end of the spring on the frame holes. Twist the spring until it is screwed well. Do all the spring holes cautiously.
4. Testing
Before fully using your DIY trampoline, make sure to test it out first. Try to bounce or jog slowly to check if there are disconnected parts afterward. Make sure that your trampoline is stable and safe to use, especially for children.
A DIY trampoline is possible with the use of durable and strong materials. Don’t hesitate to call a friend if you need help. You may need one in carrying the frame and screwing a number of bolts. Keep you DIY trampoline simple and affordable with these stress-free steps!

